Checkpoints
Create an API Key
/ 25
Create a request to Classify a news article
/ 25
Check the Entity Analysis response
/ 25
Create a new Dataset and table for categorized text data
/ 25
Classify Text into Categories with the Natural Language API
- GSP063
- Overview
- Objectives
- Setup and requirements
- Task 1. Enable the Cloud Natural Language API
- Task 2. Create an API key
- Task 3. Classify a news article
- Task 4. Classify a large text dataset
- Task 5. Create a BigQuery table for categorized text data
- Task 6. Classify news data and store the result in BigQuery
- Task 7. Analyze categorized news data in BigQuery
- Congratulations!
GSP063

Overview
The Cloud Natural Language API lets you extract entities from text, perform sentiment and syntactic analysis, and classify text into categories. In this lab, the focus is on text classification. Using a database of 700+ categories, this API feature makes it easy to classify a large dataset of text.
Objectives
In this lab, you will learn how to:
- Create a Natural Language API request and calling the API with curl
- Use the Natural Language API's text classification feature
- Use text classification to understand a dataset of news articles
Setup and requirements
Before you click the Start Lab button
Read these instructions. Labs are timed and you cannot pause them. The timer, which starts when you click Start Lab, shows how long Google Cloud resources will be made available to you.
This hands-on lab lets you do the lab activities yourself in a real cloud environment, not in a simulation or demo environment. It does so by giving you new, temporary credentials that you use to sign in and access Google Cloud for the duration of the lab.
To complete this lab, you need:
- Access to a standard internet browser (Chrome browser recommended).
- Time to complete the lab---remember, once you start, you cannot pause a lab.
How to start your lab and sign in to the Google Cloud console
-
Click the Start Lab button. If you need to pay for the lab, a pop-up opens for you to select your payment method. On the left is the Lab Details panel with the following:
- The Open Google Cloud console button
- Time remaining
- The temporary credentials that you must use for this lab
- Other information, if needed, to step through this lab
-
Click Open Google Cloud console (or right-click and select Open Link in Incognito Window if you are running the Chrome browser).
The lab spins up resources, and then opens another tab that shows the Sign in page.
Tip: Arrange the tabs in separate windows, side-by-side.
Note: If you see the Choose an account dialog, click Use Another Account. -
If necessary, copy the Username below and paste it into the Sign in dialog.
{{{user_0.username | "Username"}}} You can also find the Username in the Lab Details panel.
-
Click Next.
-
Copy the Password below and paste it into the Welcome dialog.
{{{user_0.password | "Password"}}} You can also find the Password in the Lab Details panel.
-
Click Next.
Important: You must use the credentials the lab provides you. Do not use your Google Cloud account credentials. Note: Using your own Google Cloud account for this lab may incur extra charges. -
Click through the subsequent pages:
- Accept the terms and conditions.
- Do not add recovery options or two-factor authentication (because this is a temporary account).
- Do not sign up for free trials.
After a few moments, the Google Cloud console opens in this tab.

Activate Cloud Shell
Cloud Shell is a virtual machine that is loaded with development tools. It offers a persistent 5GB home directory and runs on the Google Cloud. Cloud Shell provides command-line access to your Google Cloud resources.
- Click Activate Cloud Shell
at the top of the Google Cloud console.
When you are connected, you are already authenticated, and the project is set to your Project_ID,
gcloud is the command-line tool for Google Cloud. It comes pre-installed on Cloud Shell and supports tab-completion.
- (Optional) You can list the active account name with this command:
- Click Authorize.
Output:
- (Optional) You can list the project ID with this command:
Output:
gcloud, in Google Cloud, refer to the gcloud CLI overview guide.
Task 1. Enable the Cloud Natural Language API
-
Expand the Navigation menu (
) at the top left of the screen.
-
Select APIs & Services > Enabled APIs and Services.
- Click Enable APIs and Services.
-
Then, search for
languagein the search box. -
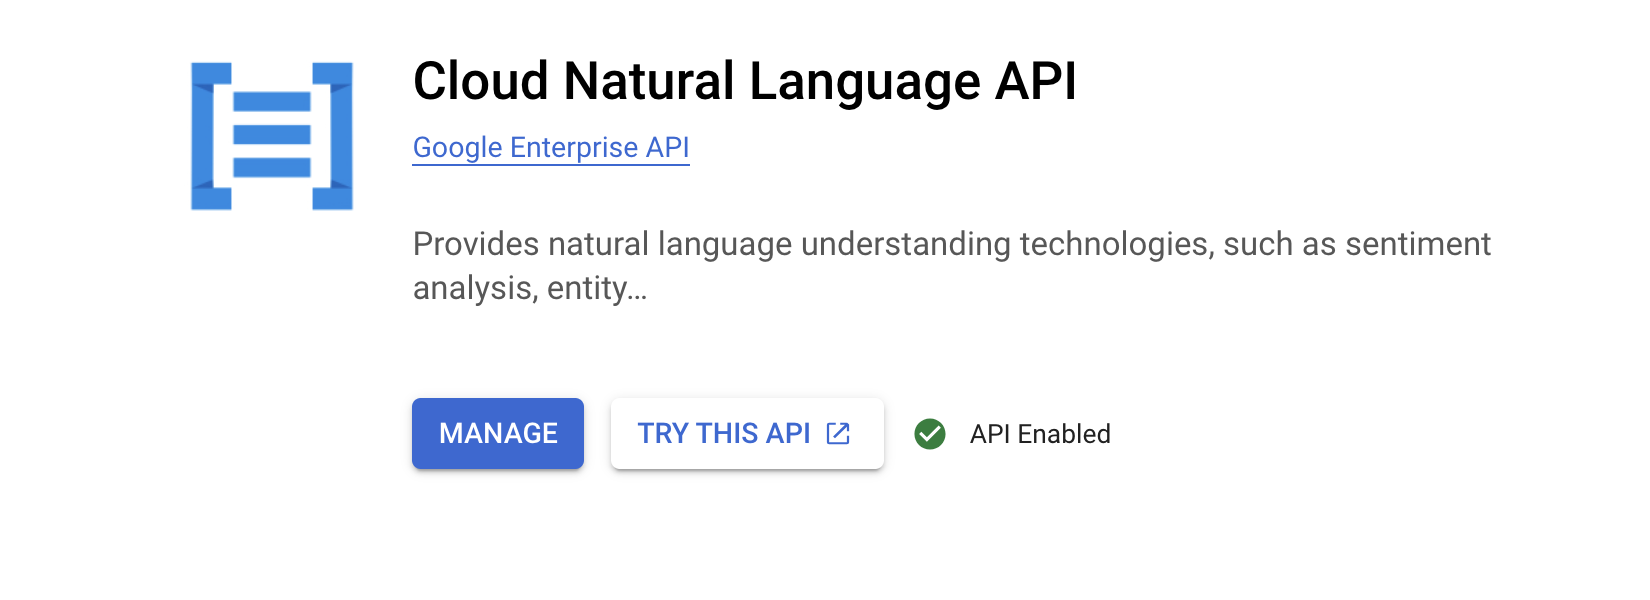
Click Cloud Natural Language API:
If the API is not enabled, you'll see the Enable button.
- Click Enable to enable the Cloud Natural Language API.
When the API is enabled, Google Cloud displays API information as follows:
Task 2. Create an API key
Since you're using curl to send a request to the Natural Language API, you need to generate an API key to pass in the request URL.
-
To create an API key, in your Console, click Navigation menu > APIs & Services > Credentials.
-
Then click Create Credentials.
-
In the drop down menu, select API key.
-
Next, copy the key you just generated, then click Close.
Click Check my progress to verify the objective.
Now that you have an API key, you save it as an environment variable to avoid having to insert the value of your API key in each request.
In order to perform next steps please connect to the instance provisioned for you via ssh.
- Open the Navigation menu and select Compute Engine > VM Instances. You should see a provisioned
linux-instance.
-
Click on the SSH button. You be brought to an interactive shell.
-
In the command line, enter in the following, replacing
<YOUR_API_KEY>with the key you just copied:
Task 3. Classify a news article
Using the Natural Language API's classifyText method, you can sort text data into categories with a single API call. This method returns a list of content categories that apply to a text document.
These categories range in specificity, from broad categories like /Computers & Electronics to highly specific categories such as /Computers & Electronics/Programming/Java (Programming Language). A full list of 700+ possible categories can be found in the Content Categories page.
You'll start by classifying a single article, and then see how you can use this method to make sense of a large news corpus.
- To start, take this headline and description from a New York Times article in the food section:
A Smoky Lobster Salad With a Tapa Twist. This spin on the Spanish pulpo a la gallega skips the octopus, but keeps the sea salt, olive oil, pimentón and boiled potatoes.
- Create a file named
request.jsonand add the code found below. You can create the file using one of your preferred command line editors (nano, vim, emacs).
- Now you can send this text to the Natural Language API's
classifyTextmethod with the followingcurlcommand:
Look at the response:
You created a Speech API request then called the Speech API.
- Run the following command to save the response in a
result.jsonfile:
The API returned 2 categories for this text:
/Food & Drink/Cooking & Recipes/Food & Drink/Food/Meat & Seafood
The text doesn't explicitly mention that this is a recipe or even that it includes seafood, but the API is able to categorize it. Classifying a single article is cool, but to really see the power of this feature, classify lots of text data.
Task 4. Classify a large text dataset
To see how the classifyText method can help you understand a dataset with lots of text, use this public dataset of BBC news articles. The dataset consists of 2,225 articles in five topic areas (business, entertainment, politics, sports, tech) from 2004 - 2005. A subset of these articles are in a public Cloud Storage bucket. Each of the articles is in a .txt file.
To examine the data and send it to the Natural Language API, you'll write a Python script to read each text file from Cloud Storage, send it to the classifyText endpoint, and store the results in a BigQuery table. BigQuery is Google Cloud's big data warehouse tool - it lets you easily store and analyze large data sets.
- To see the type of text you'll be working with, run the following command to view one article (
gsutilprovides a command line interface for Cloud Storage):
Next you'll create a BigQuery table for your data.
Task 5. Create a BigQuery table for categorized text data
Before sending the text to the Natural Language API, you need a place to store the text and category for each article.
-
Navigate to Navigation menu > BigQuery in the Console.
-
Click Done.
-
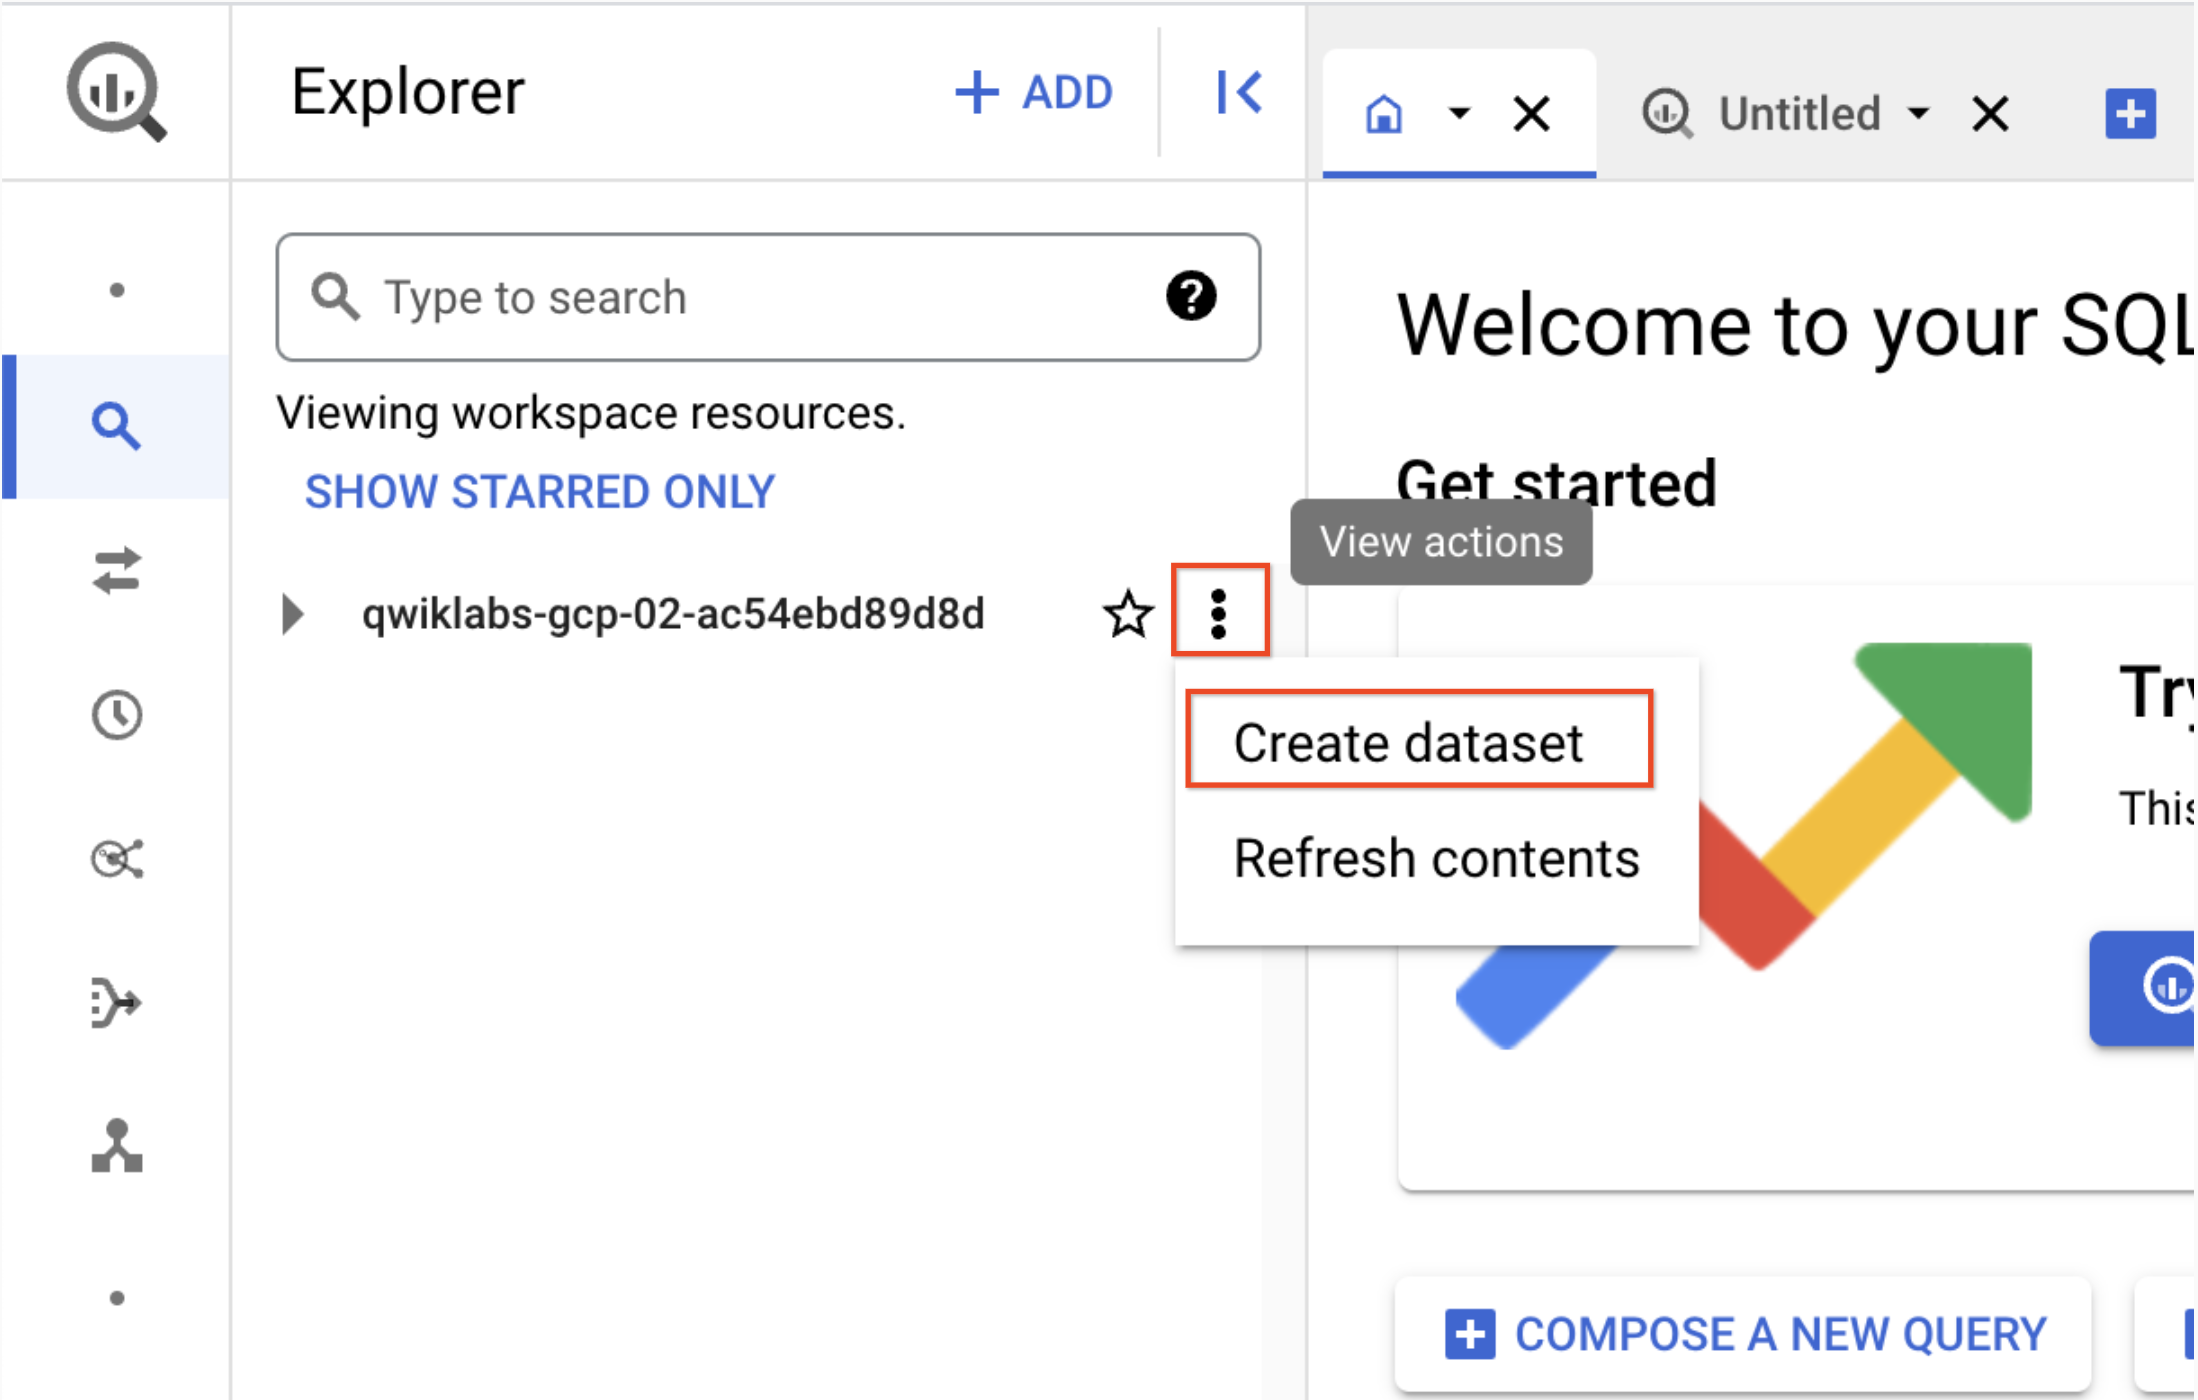
To create a dataset, click on the View actions icon next to your Project ID and select Create dataset:
-
Name the dataset
news_classification_dataset, then click Create dataset. -
To create a table, click on the View actions icon next to the
news_classification_datasetand select Create Table.
- Use the following settings for the new table:
- Create table from: Empty table
- Name your table: article_data
- Under Schema, click Add Field and add the following 3 fields:
| Field Name | Type | Mode |
|---|---|---|
article_text |
STRING | NULLABLE |
category |
STRING | NULLABLE |
confidence |
FLOAT | NULLABLE |
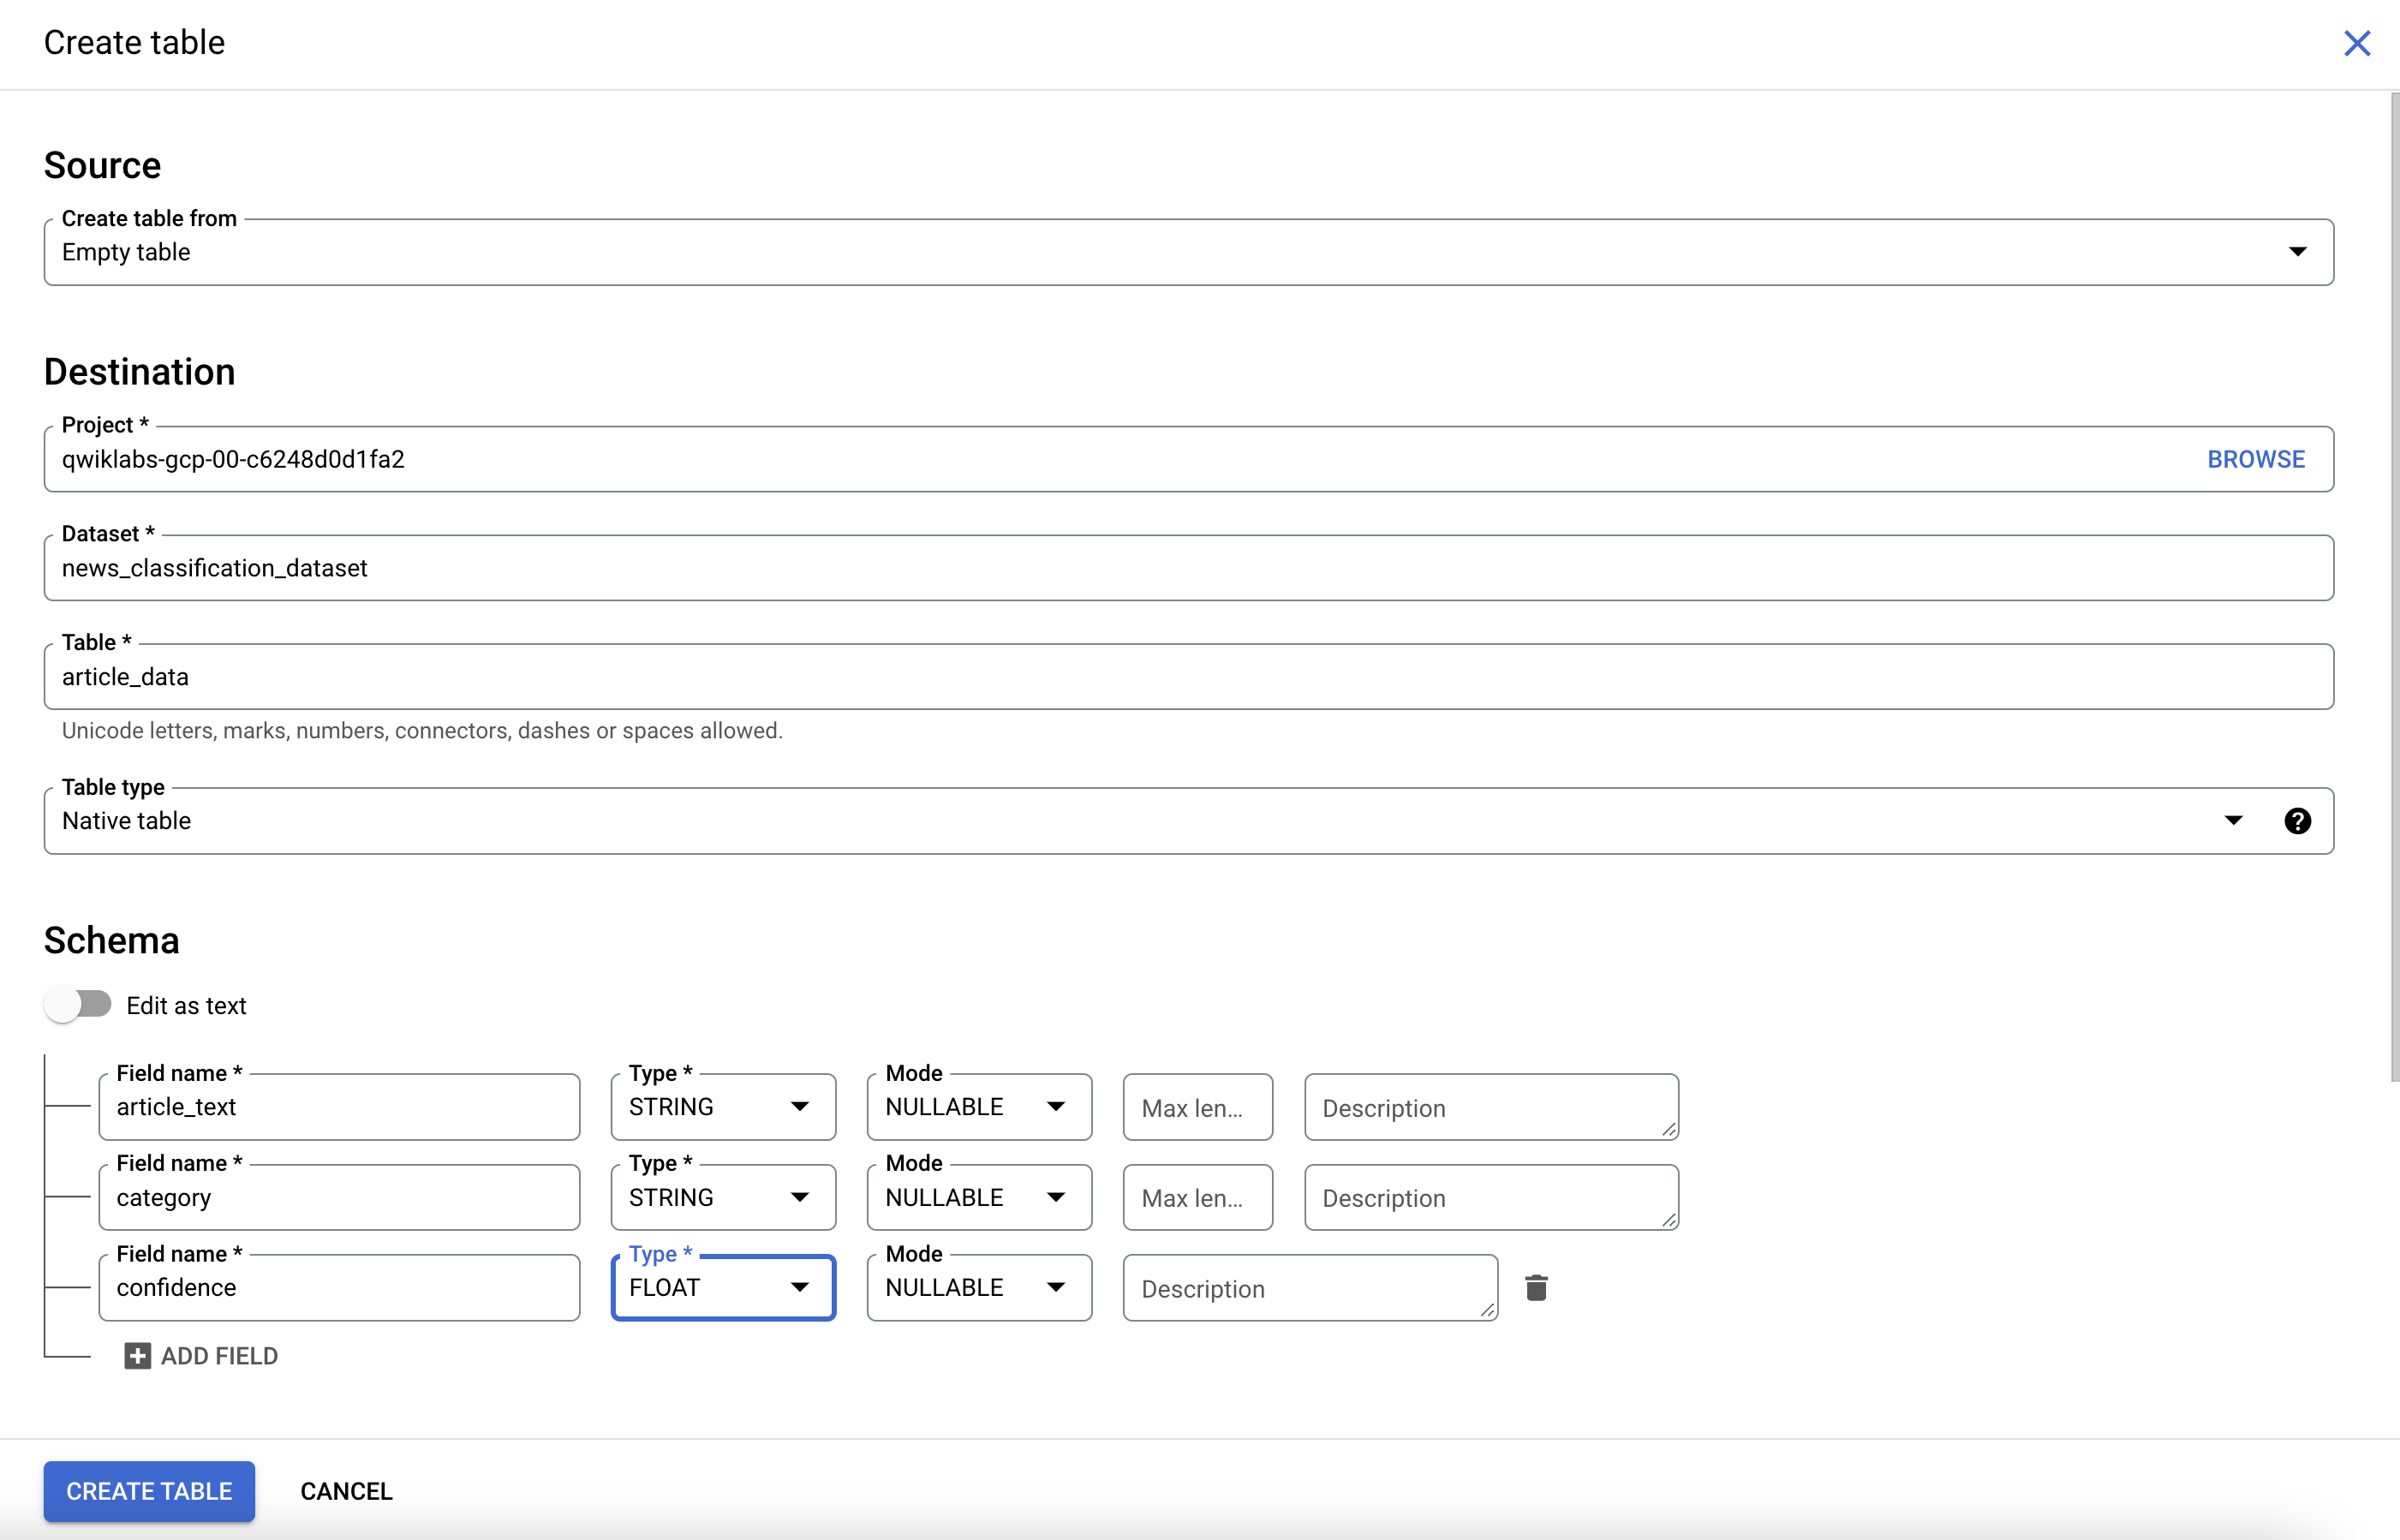
- Click Create Table.
The table is empty right now. In the next step you'll read the articles from Cloud Storage, send them to the Natural Language API for classification, and store the result in BigQuery.
Click Check my progress to verify the objective.
Task 6. Classify news data and store the result in BigQuery
In order to perform next steps please connect to the Cloud Shell. If prompted click continue.
Before writing a script to send the news data to the Natural Language API, you need to create a service account. This will be used to authenticate to the Natural Language API and BigQuery from a Python script.
- Export your Project ID as an environment variable:
- Run the following commands to create a service account:
Now you're ready to send the text data to the Natural Language API!
- Write a Python script using the Python module for Google Cloud.
You can accomplish the same thing from any language, there are many different cloud client libraries.
- Create a file called
classify-text.pyand copy the following code into it. You can either create the file using one of your preferred command line editors (nano, vim, emacs).
Now you're ready to start classifying articles and importing them to BigQuery.
- Run the following script:
The script takes about two minutes to complete, so while it's running read about what's happening.
You're using the Google Cloud Python client library to access Cloud Storage, the Natural Language API, and BigQuery. First, a client is created for each service, then references are created to the BigQuery table. files is a reference to each of the BBC dataset files in the public bucket. The files are looked at, the articles are downloaded as strings, then each one is sent to the Natural Language API in the classify_text function. For all articles where the Natural Language API returns a category, the article and its category data are saved to a rows_for_bq list. When classifying each article is done, the data is inserted into BigQuery using insert_rows().
When the script has finished running, it's time to verify that the article data was saved to BigQuery.
- In BigQuery, navigate to the
article_datatable in the Explorer tab and click Query > In new tab to query the table:

- Edit the results in the Unsaved query box, adding an asterisk between SELECT and FROM:
- Now click Run.
You'll see your data when the query completes.
- Scroll to the right to see the category column.
The category column has the name of the first category the Natural Language API returned for the article, and confidence is a value between 0 and 1 indicating how confident the API is that it categorized the article correctly.
You'll learn how to perform more complex queries on the data in the next step.
Task 7. Analyze categorized news data in BigQuery
First, see which categories were most common in the dataset.
-
In the BigQuery console, click + Compose New Query.
-
Enter the following query:
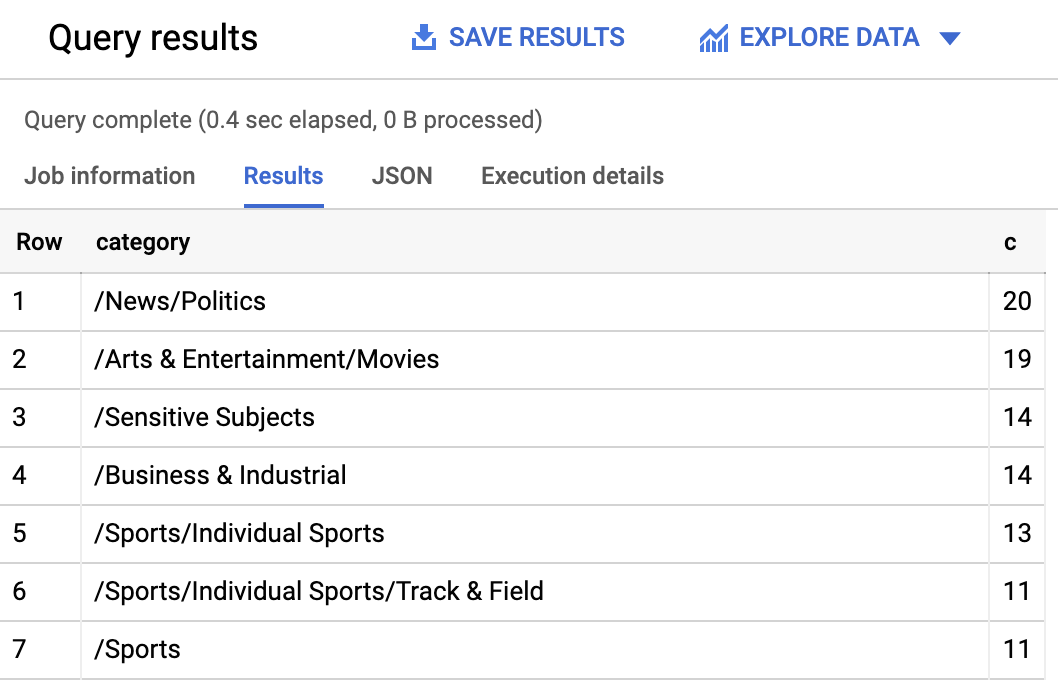
- Now click Run.
You should see something like this in the query results:
If you wanted to find the article returned for a more obscure category like /Arts & Entertainment/Music & Audio/Classical Music, you could write the following query:
Or, you could get only the articles where the Natural language API returned a confidence score greater than 90%:
To perform more queries on your data, explore the BigQuery documentation. BigQuery also integrates with a number of visualization tools. To create visualizations of your categorized news data, check out the Data Studio quickstart for BigQuery.
Congratulations!
You've learned how to use the Natural Language API text classification method to classify news articles. You started by classifying one article, and then learned how to classify and analyze a large news dataset using the NL API with BigQuery. You also learned how to create a BigQuery table and run queries on your data.
Next steps / learn more
- Read the docs for classifying content with the Natural Language API.
- Learn more about BigQuery in the documentation.
Google Cloud training and certification
...helps you make the most of Google Cloud technologies. Our classes include technical skills and best practices to help you get up to speed quickly and continue your learning journey. We offer fundamental to advanced level training, with on-demand, live, and virtual options to suit your busy schedule. Certifications help you validate and prove your skill and expertise in Google Cloud technologies.
Manual Last Updated March 1, 2024
Lab Last Tested March 1, 2024
Copyright 2024 Google LLC All rights reserved. Google and the Google logo are trademarks of Google LLC. All other company and product names may be trademarks of the respective companies with which they are associated.